Showing posts with label Sweets. Show all posts

Wednesday, February 24, 2010

Pumpkin Spice Muffins

Photobucket

These muffins are a cinch to make and are under 100 calories (if you pay attention to that sort of thing). The kids are obsessed with these, and they are perfect for breakfast, snacks, or to pack in a lunchbox.

I found this recipe at one of my fav recipe sites Shades of Jaim. Seriously check out her recipes.

Ingredients:
1 box spice cake mix
15 oz. can pumpkin
1/2 c. water

Directions:
Preheat oven to 350 degrees. Mix all ingredients together and fill each baking cup 1/2 way with batter. Bake according to directions on box. Yields 24 muffins.

My Recommendations:
I tried the original recipe which was for Chocolate Pumpkin muffins, but I wasn't too crazy about it. The spice cake mix and pumpkin goes much better together in my opinion. Also, I have made multiple batches of these and then frozen them so we can have some on hand.


*This post is linked to Life as Mom's Ultimate Recipe Swap*

Wednesday, February 17, 2010

Ice Cream Cone Cupcakes

Photobucket

With bubba's birthday party being snowed out, I wanted to make an extra special treat for him, and these did not disappoint. I have very fond memories of my dad making these for my brother and I when we were younger, and hopefully my children will remember how much they enjoyed these when they are older.

(Adapted from this Betty Crocker recipe)
Ingredients:
1 box cake mix (we used Funfetti)
water, vegetable oil and eggs called for on cake box
24 flat-bottom ice cream cones
icing
sprinkles

Directions:
Heat oven to 350 degrees. Make cake batter as directed on the box. Line ice cream cones on a baking sheet, and fill each cone 3/4 full of batter. Bake 15 to 20 minutes or until an inserted toothpick comes out clean. Allow cones to cool completely, and then frost and decorate as desired.

Photobucket

My Recommendations:
My cones came out a little flat so next time I will add more batter so they more closely resemble an ice cream cone. Also, I frosted them, let the frosting harden, frosted them a second time and then added sprinkles before the frosting hardened.

*This post is linked to Life As Mom's Ultimate Recipe Swap*

Wednesday, February 10, 2010

Candy Cane Heart FAIL


Photobucket

I can't even look at that picture without laughing. I had a TON of leftover candy canes from Christmas and had seen a great idea for what to do with them here. MJ and I decided it would be cute to make some mini hearts for her classmates. My oven apparently did not think so. In retrospect because they were mini candy canes, I probably should have adjusted the baking time. But that would have been the kind of thing that someone would have thought of who actually knows what they're doing in the kitchen. Obviously not me.

In my defense I was preoccupied trying to multitask and make granola. Please make this ASAP.

Photobucket

I didn't want our baking afternoon to be a wash, so MJ and I made some brownies (boxed), cut them into hearts, and covered them with marshmallow fluff and sprinkles. Bakerella I am not, but these are pretty dang cute.

Photobucket

*This post is linked to Life As Mom's Ultimate Recipe Swap*

Monday, February 8, 2010

Snow Cones

Photobucket

One good thing that came out of all the snow Mother Nature dumped on us was that the kids and I got to make our own snow cones! We had so much fun with these and they took about two seconds to make.

Ingredients:
Fresh, clean snow
Fruit juice (we used pineapple)

Directions:
Scoop snow into cups and pour fruit juice over the snow.

Photobucket

Photobucket

My Recommendations:
This would work better if the snow was thicker and more dense. Our snow was light and fluffy so the snow kind of disintegrated when we poured the juice overtop. It was delicious nonetheless, and the kids had second and third helpings!


Wednesday, February 3, 2010

Crock-Pot Chocolate Cake (a.k.a. P.M.S. Delight)

{Picture to be added a bit later}
**Edited to add: I had every intention of taking a picture,
but this cake was demolished before I got a chance**

It's one of those days and I'm in the need of chocolate therapy. I threw the ingredients in the crock-pot four hours ago and my house now smells delicious. I'm in a better mood already! The official name is P.M.S. Delight but just in case I were to ever acquire a male reader, we shall call it Crock-Pot Chocolate Cake. Another good name for it would be "Death By Chocolate." Or "My-Diet-Is-Over Chocolate Cake."

Ingredients:
1 package chocolate cake mix
1 8 oz. carton sour cream (don't use fat free)
1 package instant chocolate pudding mix
1 c. chocolate chips
3/4 c. vegetable or canola oil
4 eggs
1 c. water


Directions:
Spray crock-pot with non-stick spray. In a medium bow, mix by hand all of the ingredients. Pour into pot and cook on low for 4-5 hours, or high for 2-3 hours.


My Recommendations:
The time has varied on this for me. Just keep your eye on it after 4 hours if on low, or 2 hours if on high. Check to see if it's done by sticking a fork in the middle; if it comes out clean, it's done.


Serve with lots of whipped cream or ice cream (my preference). And it's always ALWAYS better when it's served hot. Try not to eat it all.


Thursday, January 21, 2010

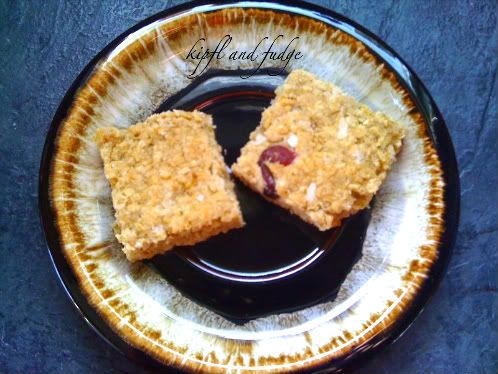
Coconut Craisin Granola Bars

Photobucket

I'm not going to pretend that we don't eat processed food - we live on stuff that comes in boxes and cans. Although one of my new years resolutions is to add more made-from-scratch food to our menu. And with my homemade pizza dough and soft pretzels (I'll have to post that), I'm definitely heading in the right direction. Anyway before I type more run-on sentences or go off on a tangent...

These granola bars are so easy to make, completely customizable, and oh so good! I have made these at least a dozen times, tweaked the recipe a bit more every time, and these were my latest experiment. I love being able to have these handy to give the kids as a snack, and I love that they are made-from-scratch. They make me feel better about giving my kids boxed macaroni.

(Adapted from this recipe)
Ingredients:
4 1/2 c. oats
1/2 c. flour
1 t. baking soda
1 t. vanilla
1/2 c. butter
1/2 c. applesauce
1/2 c. honey
1/3 c. brown sugar
1/2 c. coconut
1/4 c. craisins

Directions:
Preheat oven to 325 degrees.

In a mixing bowl, combine all of the ingredients. Press the mixture into a lightly greased 9x13 pan. Bake for 18 to 22 minutes or until golden brown. Let cool for 10 minutes and then cut into bars. Let them cool completely before you take them out of the pan.

My Recommendations:
I have made the bars with and without the brown sugar and I actually prefer them without the sugar.

I have made these with chocolate chips, peanut butter chips, peanut butter, and raisins. That's what I love about this recipe! You can add or leave out whatever you want.

Enjoy =)

Wednesday, January 20, 2010

Nutella-Swirl Pound Cake FAIL

Photobucket

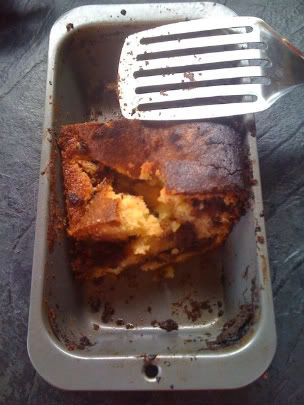
My poor little pound cake.

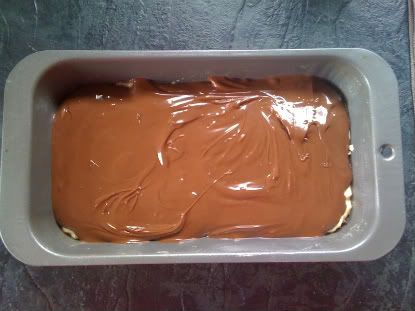
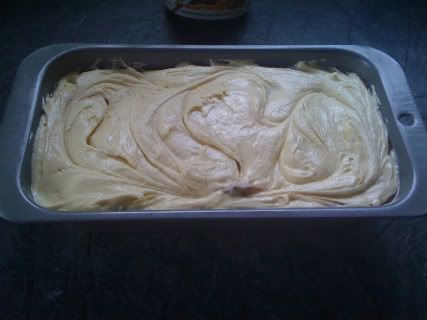
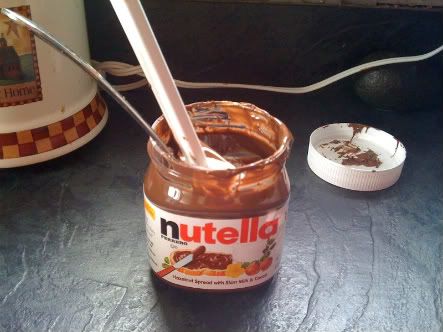
I was inspired by friend's facebook post about a delicious Nutella-Swirl Pound Cake and without hesitation, I ran to the grocery store and bought all the ingredients to make it. I followed the directions precisely:

Photobucket

Photobucket

Photobucket

(I may or may not have licked that container clean)

But after I put my pound cake in the oven, something went horribly wrong. After the 1 hour and 15 min baking time, the outside was done but the middle was not even close. I kept it in and checked every 15 minutes but the middle would just not bake! Finally after two hours in the over, the middle was done but the outside of the cake was very brown. It was not a pretty sight.

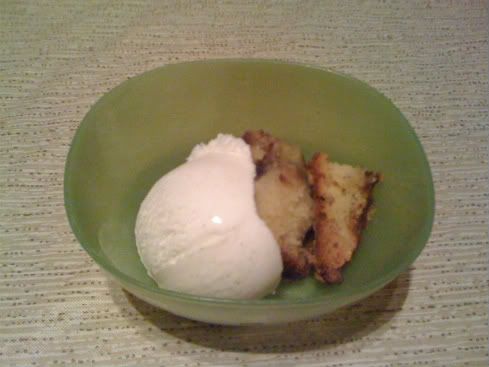
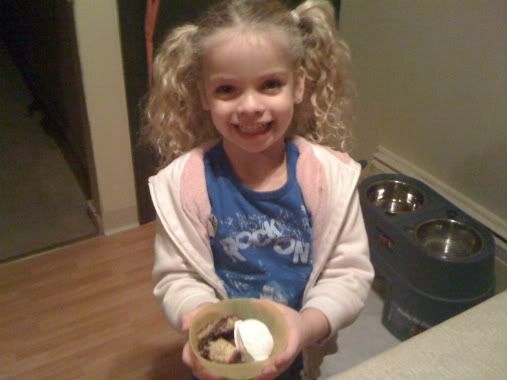
Fortunately, we value taste more than appearance in this house. Even though my poor pound cake looked rather unappealing, it was delicious. I improvised and served slivers of the not burnt part with ice cream.

Photobucket

Photobucket

I will definitely make this again and keep everything crossed that next time I don't have any baking issues.

Sunday, December 20, 2009

Cookie Dough Pie

Photobucket

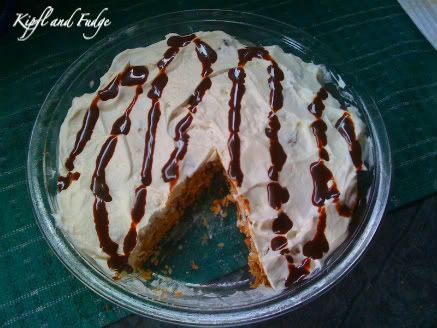
Dessert is a pretty big deal in our house. The promise of dessert pretty much guarantees that Boo and Bubba will clear their plates. So when I spotted this dessert that only requires four ingredients, does not need to be baked, and is utterly, fantasticly delicious, I knew I had to try it. And I'm oh so glad that I did.

Head over to Big Red Kitchen for the FOUR ingredients and easy directions. And try not to laugh at my picture of the Cookie Dough Pie after viewing hers. It will be hard, I know.

Saturday, December 19, 2009

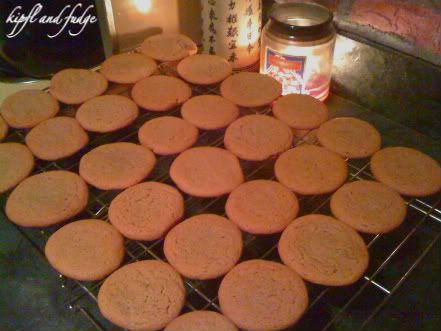
Ginger Cookies

Photobucket

I'm a sucker for cookie exchanges. But after a particularly rough year where some participants packaged up store-bought cookies and saltines with jam (??), I haven't been as willing to participate. Instead, my mom and I exchange cookies - always a dozen of each cookie and the number of different cookies is always dependent on how productive we are (this year it was only six). I wanted to try a new cookie this year, and once I found this recipe on All Recipes, I knew I had to make it.

Unfortunately I had to make two batches because with the first batch I accidentally left the setting on "broil." Whoops. There were a few cookies that survived the big broil, and while I liked them (a lot), I wasn't over the moon. So for the second batch, I tweaked the recipe a bit based on some of the comments I read. The result: pure deliciousness.

Ingredients:
2 1/4 c. all-purpose flour
2 t. ground ginger
1 t. baking soda
3/4 t. ground cinnamon
1/2 t. ground cloves
1/4 t. salt
3/4 c. margarine, softened
1 c. and 2 T. white sugar, separated
1 egg
1 T. water (**I substituted orange juice and this really enhanced the flavor of the cookie**)
1/4 c. molasses

Directions:
Preheat over to 350 degrees. Sift together the flour, ginger, baking soda, cinnamon, cloves, and salt. Set aside.

In a large bowl, cream together the margarine and 1 c. sugar until light and fluffy. Beat in the egg, then stir in the water and molasses. Gradually stir the sifted ingredients into the molasses mixture. Shape dough into walnut sized balls, and then roll them in the remaining 2 T. of sugar. Place the cookies 2 inches apart onto an ungreased cookie sheet, and flatten slightly.

Bake for 8 to 10 minutes in the preheated oven. Allow cookies to cool on baking sheet for 5 minutes before removing to a wire rack to cool completely. Makes 24 cookies.

My Recommendations:
After all of the ingredients were mixed together and prior to shaping them into balls, I put the bowl of dough in the fridge for 45 mins. I had a very hard time shaping the dough with the first batch, and this extra step really made the difference.

I opted not to roll the cookies in the extra 2 T. of white sugar for the second batch. I preferred to have the flavor of the cookie stand alone and really didn't like the added sweetness.

I opted for smaller cookies and made 36. My rationalization is the smaller the cookie, the more you can eat!

These cookies truly are delicious and you should make them ASAP if for no other reason than they will make your house smell wonderful.

Thursday, December 17, 2009

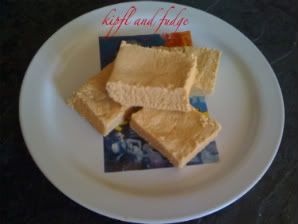
Gram's Peanut Butter Fudge

Photobucket


I can't think of a better place to start! My Gram made this quite often, and it's one of my favorite things to make around the holidays. It's very easy and incredibly delicious. I made this in less than half an hour last night, and packaged some up for hubby's coworkers this morning. My kids and I will happily eat the rest =)

Ingredients:
2 c. white sugar
1/2 c. milk
12 oz. creamy peanut butter
1 small jar of marshmallow creme

Directions:
Mix together sugar and milk in sauce pan
Cook over medium heat and bring to boil
Cook three minutes and stir constantly
Remove from heat and add peanut butter then marshmallow creme
Pour into greased pan
*I use a 9 x 12 pan but it depends on how thick you want your fudge

Enjoy!